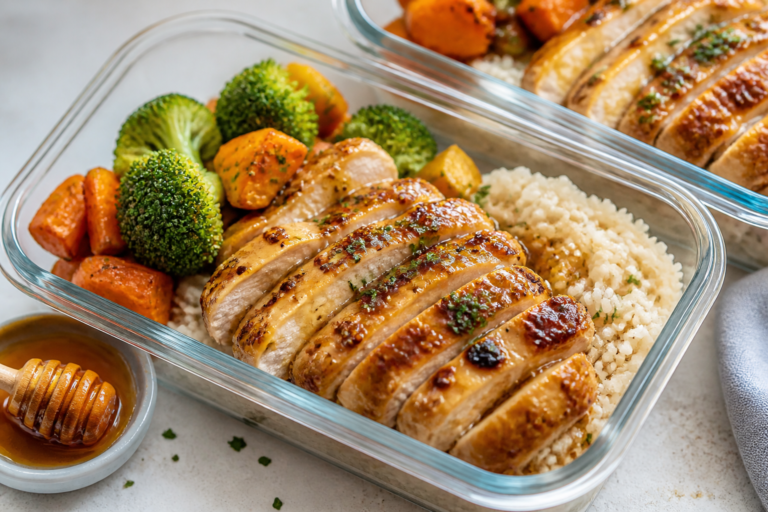
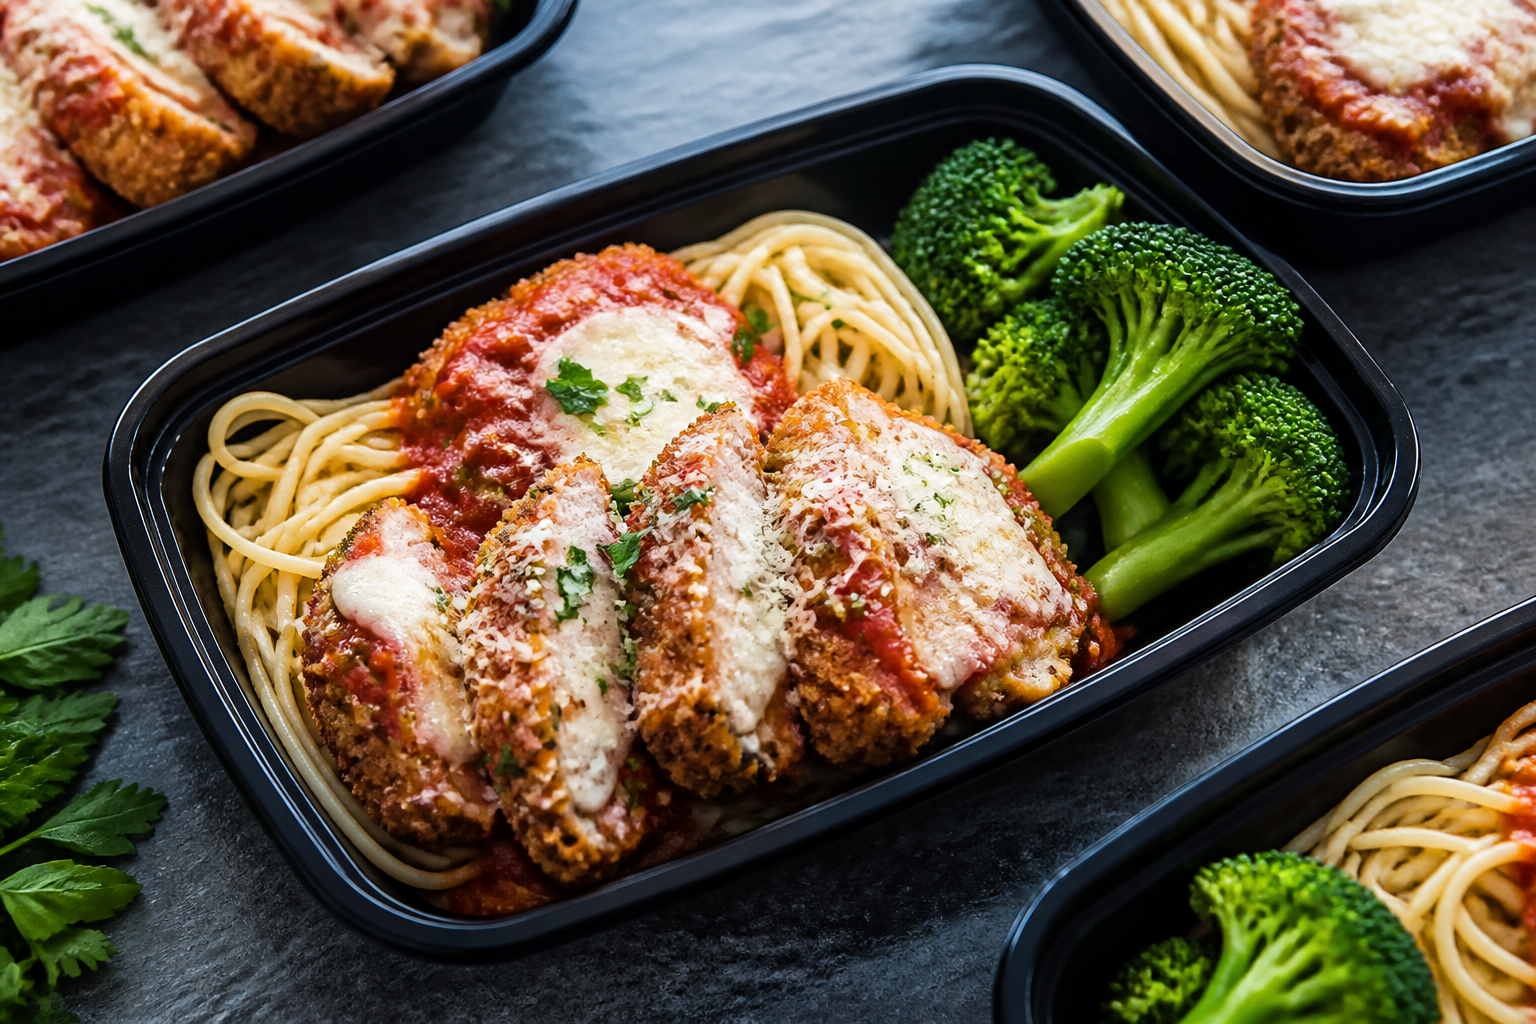
Chicken Parmesan Meal Prep Bowls – Easy, Comforting, and Ready for the Week
If you love the classic flavors of Chicken Parmesan but want something lighter and easier for busy weekdays, these meal prep bowls hit the sweet spot. You get crispy, juicy chicken, a bright tomato sauce, a little melted cheese, and a bed of garlicky broccoli or whole grains to round it out. It’s comfort food you can actually feel good about eating.
Everything holds up well in the fridge, reheats nicely, and tastes just as satisfying on day four as it does on day one. Simple steps, everyday ingredients, and reliable results.
Ingredients
Method
- Prep the chicken: Slice each chicken breast horizontally to make thinner cutlets. Pat dry with paper towels. Season both sides with salt, pepper, garlic powder, and Italian seasoning.
- Set up the breading station: Place flour in one shallow dish, beaten eggs in a second, and a mix of panko and grated Parmesan in a third. Stir a pinch of salt and pepper into each dish.
- Bread the cutlets: Dredge each cutlet in flour (shake off excess), dip in egg, then press into the panko-Parmesan mix until well coated. Set on a plate.
- Roast or sauté the veggies: Toss broccoli with a little olive oil, salt, pepper, and garlic powder. Roast on a sheet pan at 425°F (220°C) for 12–15 minutes until crisp-tender, or sauté in a skillet for 6–8 minutes.
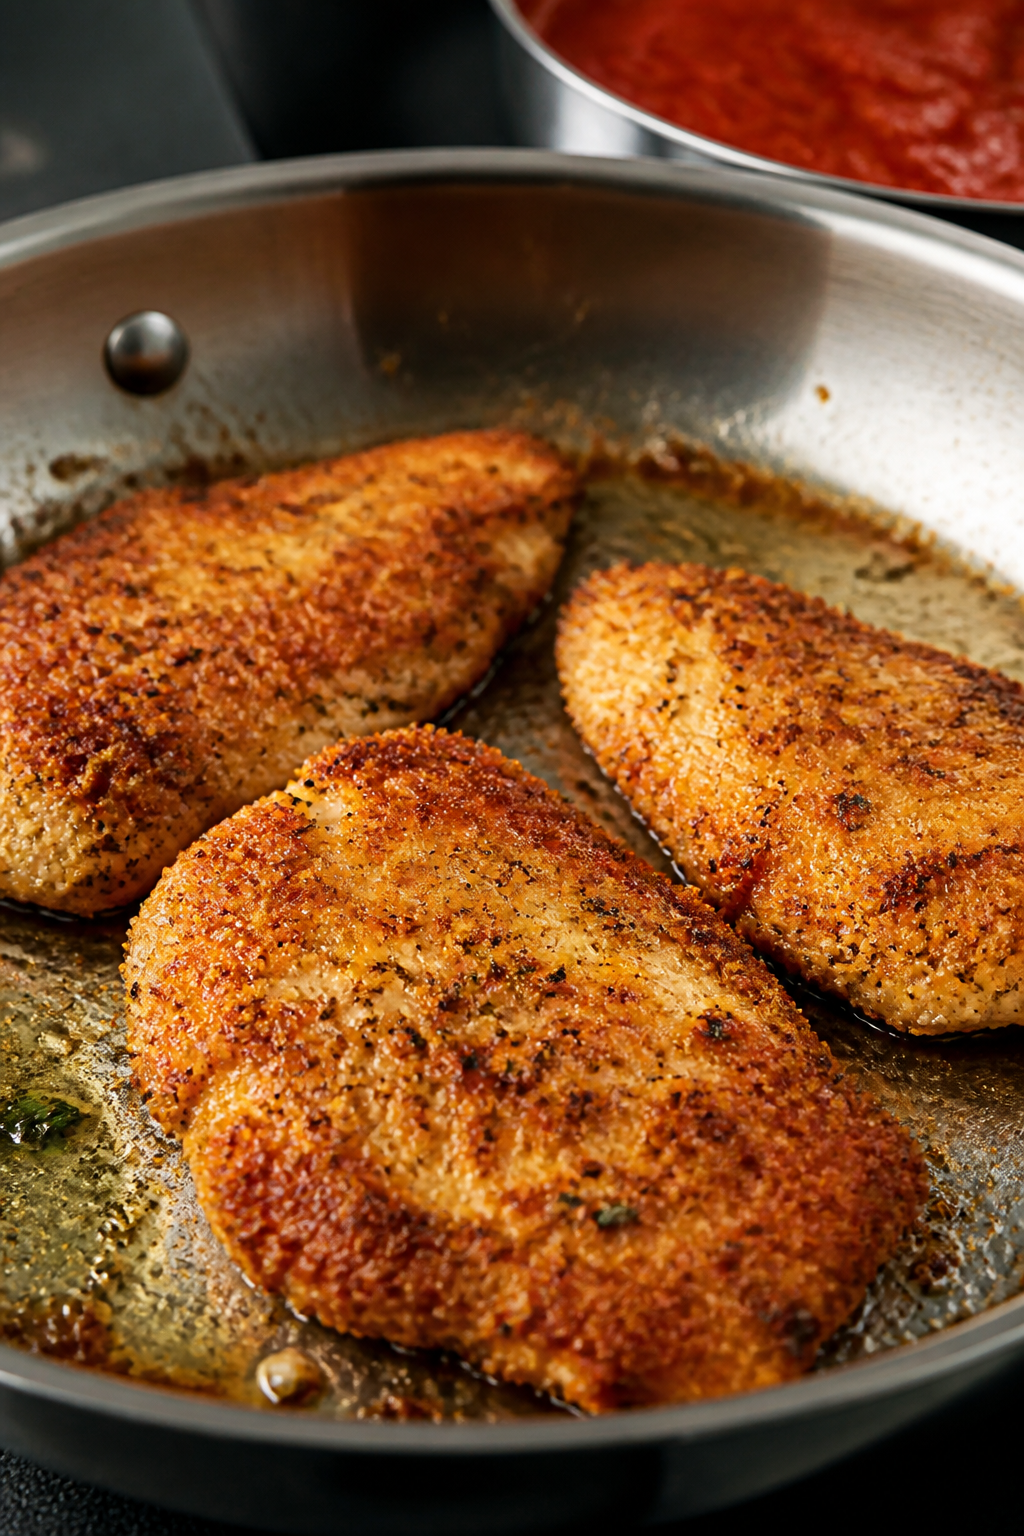
- Cook the chicken: Heat 2 tablespoons olive oil in a large skillet over medium to medium-high heat. Cook cutlets 3–4 minutes per side until golden and cooked through (internal temp 165°F/74°C). Add a bit more oil if the pan gets dry. Transfer to a sheet pan.
- Add the sauce and cheese: Spoon a thin layer of marinara over each cutlet. Top with mozzarella and a sprinkle of Parmesan.
- Melt the cheese: Broil on the top rack for 1–3 minutes until the cheese melts and lightly browns. Watch closely—broilers vary and cheese can scorch fast.
- Warm the marinara: Heat the remaining marinara in a small pot until simmering. This helps keep everything hot for assembly and improves flavor.
- Prepare the base: Portion your cooked grains or pasta into containers if using. If you’re going low-carb, skip this and just add extra veggies.
- Assemble: Add a layer of broccoli to each container. Place one chicken cutlet on top. Spoon a little warm marinara around the chicken (not directly over it if you want to keep the crust crisper). Garnish with chopped basil or parsley.
- Cool and seal: Let containers cool, lids off, for 15–20 minutes to reduce steam. Seal and refrigerate.
What Makes This Special
Chicken Parmesan is a crowd-pleaser, but it can get heavy and time-consuming. This version keeps the crunch without deep frying and uses a quick stovetop sauce or your favorite jarred marinara.
You’ll portion everything into bowls for grab-and-go lunches or effortless dinners. The texture stays great thanks to a smart breading method and a finishing broil to melt the cheese. Plus, there are options to make it gluten-free, low-carb, or higher in fiber—whatever fits your week.
What You’ll Need
- Chicken: 2 large boneless, skinless chicken breasts (about 1.5 lb), sliced horizontally into cutlets
- Seasoning: Salt, black pepper, garlic powder, onion powder, and Italian seasoning
- Breading: 1/2 cup all-purpose flour, 2 large eggs (beaten), 1 cup seasoned panko breadcrumbs (or regular breadcrumbs), 1/4 cup grated Parmesan
- Cooking fat: 2–3 tablespoons olive oil
- Sauce: 2 cups marinara (store-bought or homemade)
- Cheese: 1 cup shredded mozzarella, plus extra Parmesan for topping
- Veggie base: 4 cups broccoli florets (or green beans, zucchini, or a mix)
- Optional carbs: 2 cups cooked whole grains (brown rice, farro, or quinoa) or 8 ounces cooked whole wheat pasta
- Fresh finish: Chopped basil or parsley, and red pepper flakes if you like heat
- Meal prep containers: 4–5 medium containers with tight lids
How to Make It

- Prep the chicken: Slice each chicken breast horizontally to make thinner cutlets.
Pat dry with paper towels. Season both sides with salt, pepper, garlic powder, and Italian seasoning.
- Set up the breading station: Place flour in one shallow dish, beaten eggs in a second, and a mix of panko and grated Parmesan in a third. Stir a pinch of salt and pepper into each dish.
- Bread the cutlets: Dredge each cutlet in flour (shake off excess), dip in egg, then press into the panko-Parmesan mix until well coated.
Set on a plate.
- Roast or sauté the veggies: Toss broccoli with a little olive oil, salt, pepper, and garlic powder. Roast on a sheet pan at 425°F (220°C) for 12–15 minutes until crisp-tender, or sauté in a skillet for 6–8 minutes.
- Cook the chicken: Heat 2 tablespoons olive oil in a large skillet over medium to medium-high heat. Cook cutlets 3–4 minutes per side until golden and cooked through (internal temp 165°F/74°C).
Add a bit more oil if the pan gets dry. Transfer to a sheet pan.
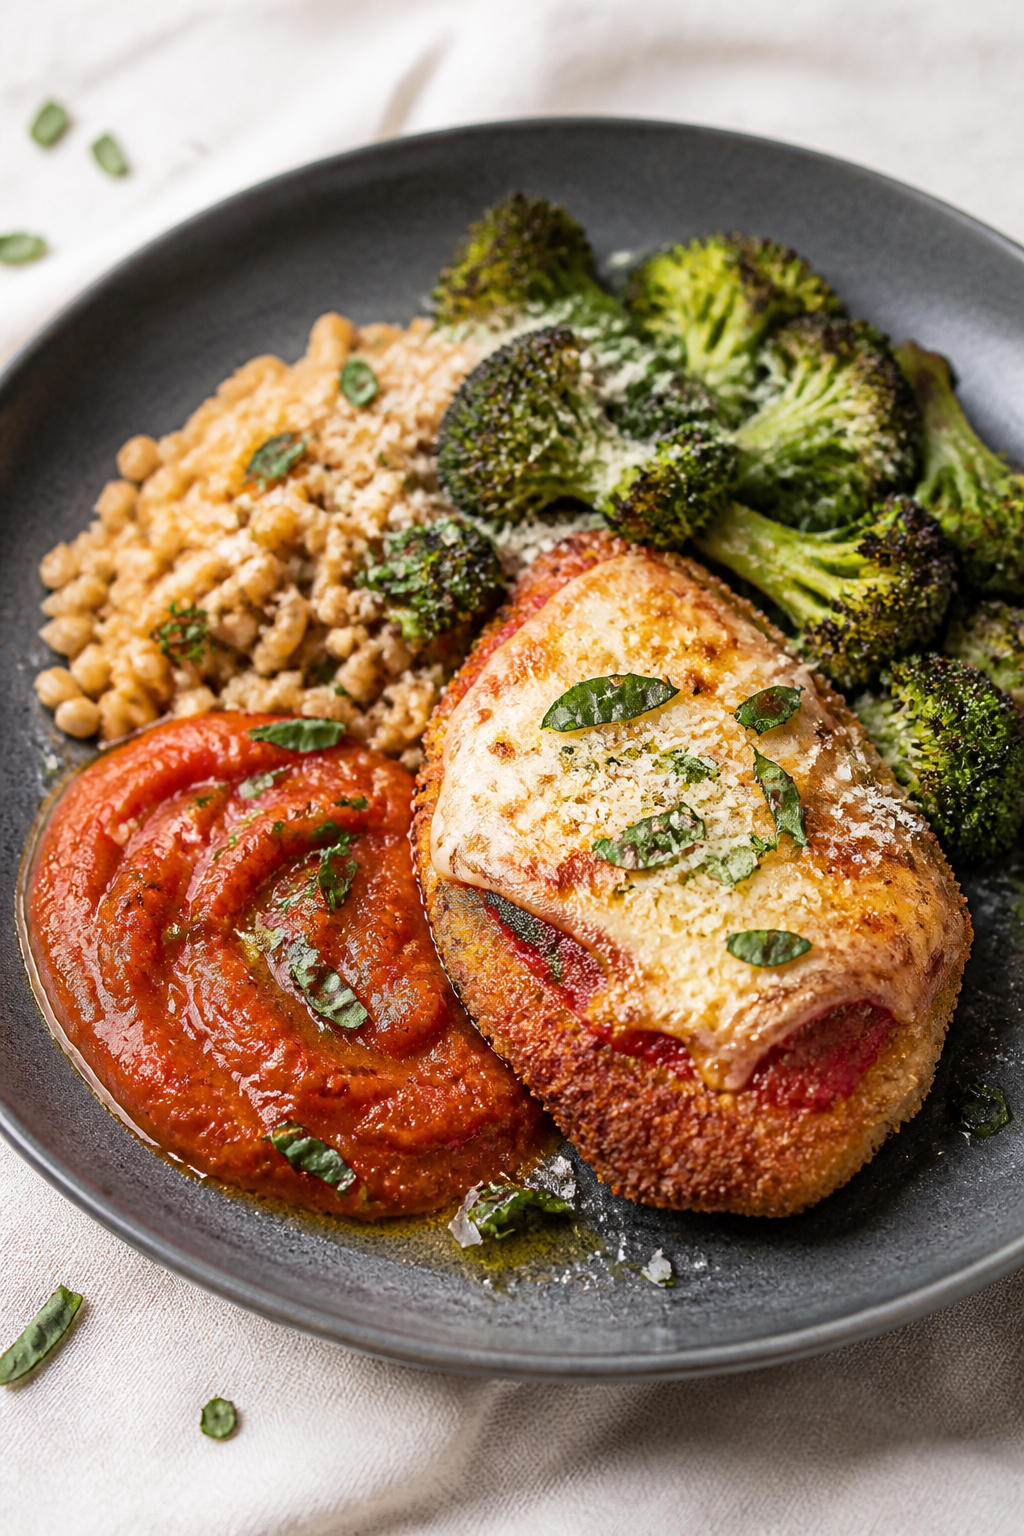
- Add the sauce and cheese: Spoon a thin layer of marinara over each cutlet. Top with mozzarella and a sprinkle of Parmesan.
- Melt the cheese: Broil on the top rack for 1–3 minutes until the cheese melts and lightly browns.
Watch closely—broilers vary and cheese can scorch fast.
- Warm the marinara: Heat the remaining marinara in a small pot until simmering. This helps keep everything hot for assembly and improves flavor.
- Prepare the base: Portion your cooked grains or pasta into containers if using. If you’re going low-carb, skip this and just add extra veggies.
- Assemble: Add a layer of broccoli to each container.
Place one chicken cutlet on top. Spoon a little warm marinara around the chicken (not directly over it if you want to keep the crust crisper). Garnish with chopped basil or parsley.
- Cool and seal: Let containers cool, lids off, for 15–20 minutes to reduce steam.
Seal and refrigerate.
How to Store
Store the bowls in the fridge for up to 4 days. If you want to keep the chicken extra crisp, store the chicken and sauce separately and combine after reheating. For freezing, skip the broccoli and pasta (they can get mushy), and freeze the sauced chicken alone for up to 2 months.
Thaw overnight in the fridge before reheating.
To reheat, microwave in 60–90 second bursts until hot, or warm covered in a 350°F (175°C) oven for 10–15 minutes. Add a splash of water to the grains or pasta if they seem dry.
Benefits of This Recipe
- Balanced meal: Protein-rich chicken, fiber from veggies and grains, and a modest amount of cheese for satisfaction.
- Consistent results: A tried-and-true breading method for crunch without deep frying.
- Meal prep friendly: Holds up well for several days and reheats nicely.
- Flexible: Works with gluten-free breadcrumbs, zoodles, or different vegetables.
- Budget-conscious: Uses affordable pantry staples and stretches into multiple meals.
Common Mistakes to Avoid
- Skipping the pat-dry step: Wet chicken won’t brown well and the breading can slide off.
- Too much sauce on top: Drenching the chicken softens the crust. Add just enough for flavor and serve extra on the side.
- Overcrowding the pan: Cook in batches to keep the coating crisp and evenly browned.
- Not cooling before sealing: Hot food trapped with steam makes the breading soggy and can affect food safety.
- Uneven cutlets: Thick spots cook slower and dry out thinner parts.
Slice or pound to even thickness.
Variations You Can Try
- Low-carb: Swap grains for cauliflower rice or double the roasted veggies. Use almond flour and crushed pork rinds instead of flour and breadcrumbs.
- Gluten-free: Use gluten-free flour and breadcrumbs. Check your marinara label.
- Air fryer method: Air fry breaded cutlets at 390°F (200°C) for 10–12 minutes, flipping halfway.
Add sauce and cheese in the last 2–3 minutes.
- Spicy arrabbiata: Stir red pepper flakes into the marinara and add a pinch of chili powder to the breadcrumb mix.
- Extra veggies: Add roasted cherry tomatoes, sautéed spinach, or ribbons of zucchini to boost color and nutrients.
- Panko-parm crust plus herbs: Mix finely chopped parsley and lemon zest into the breadcrumbs for a brighter flavor.
- Lightened cheese: Use part-skim mozzarella and go heavier on Parmesan for sharp flavor with fewer calories.
FAQ
Can I bake the chicken instead of pan-frying?
Yes. Place breaded cutlets on a wire rack set over a sheet pan, mist with cooking spray, and bake at 425°F (220°C) for 12–16 minutes until cooked through. Add sauce and cheese and broil to finish.
The rack helps keep the underside crisp.
How do I keep the coating from falling off?
Dry the chicken thoroughly, season the meat directly, and press the crumbs in firmly. Let the breaded cutlets rest on a plate for 5–10 minutes before cooking so the coating adheres. Flip only once in the pan.
What’s the best marinara to use?
Choose a marinara with simple ingredients and balanced acidity.
Look for tomato, olive oil, onion, garlic, and herbs, with minimal sugar. If it tastes too tangy, stir in a small knob of butter or a pinch of sugar to mellow it.
Can I use chicken thighs?
Absolutely. Use boneless, skinless thighs and trim excess fat.
Pound to even thickness and cook a bit longer until they reach 175°F (79°C) for a tender, juicy result.
How do I reheat without drying the chicken?
Reheat gently. Microwave in short intervals with a splash of water around the grains and sauce. Or cover and warm in the oven at 350°F (175°C).
Avoid high heat or long times, which can toughen the meat.
Can I make it dairy-free?
Yes. Skip the cheese or use a dairy-free mozzarella and Parmesan alternative. The crispy chicken with good marinara still tastes great without dairy.
Is this freezer-friendly as full bowls?
Parts are.
The chicken with sauce freezes well, but cooked broccoli and pasta can get soft. If freezing full bowls, choose firmer veggies (like green beans) and slightly undercook them before freezing.
In Conclusion
These Chicken Parmesan Meal Prep Bowls deliver classic flavor in a practical, lighter format. With a few simple techniques, you get crispy chicken, melty cheese, and a fresh-tasting sauce that holds up all week.
Customize the base, adjust the heat, and make it your own. It’s the kind of meal that makes weekday eating easy, satisfying, and stress-free.
Printable Recipe Card
Want just the essential recipe details without scrolling through the article? Get our printable recipe card with just the ingredients and instructions.