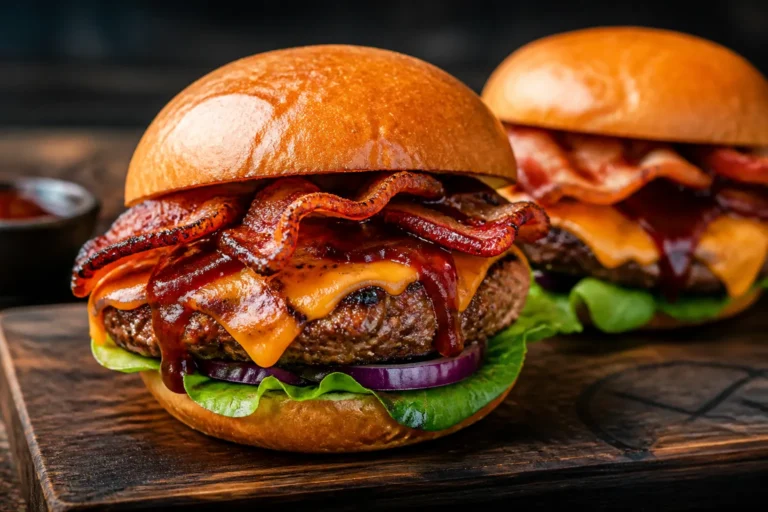
Cheeseburger Stuffed Bell Peppers – A Comforting, Crowd-Pleasing Dinner
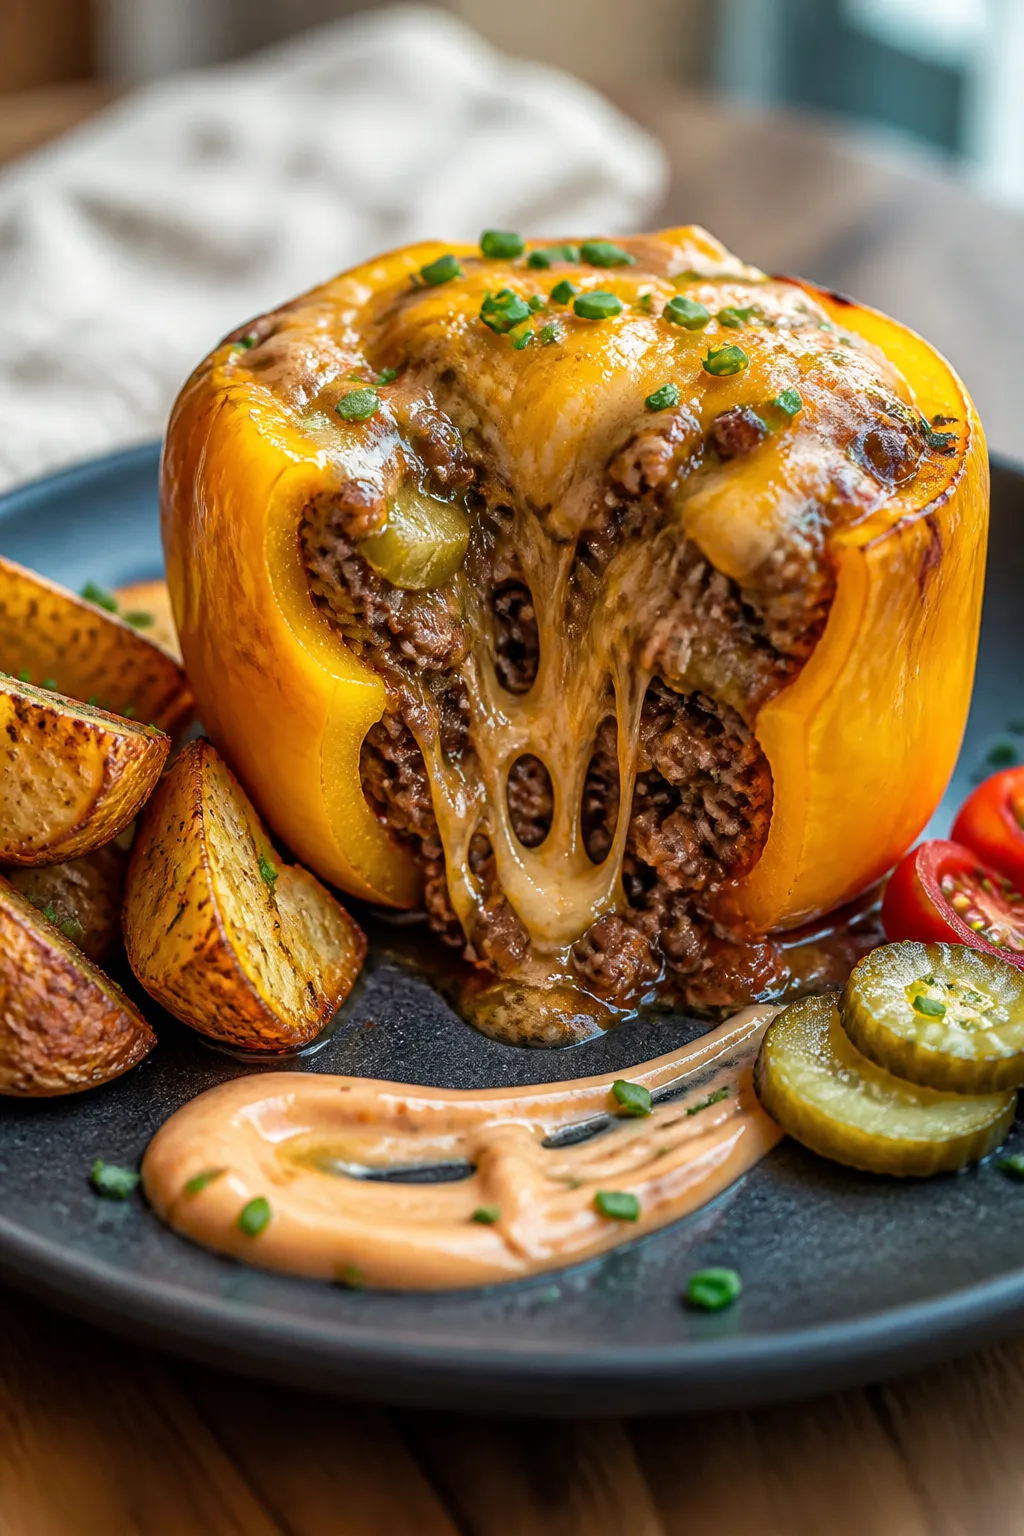
Cheeseburger stuffed bell peppers are everything you love about a juicy burger, tucked neatly into a tender, roasted pepper. They’re flavorful, filling, and surprisingly simple to make on a busy weeknight. You get the classic burger taste—savory beef, melty cheese, tangy pickles—without the bun.
Need More Easy Dinner Ideas?
Get my FREE 7-Day Easy Dinner Reset and enjoy a full week of healthy dinners without the meal-planning stress.
Kids love them, and adults go back for seconds. If you’re craving comfort food with a fresh twist, this is the dish to make.
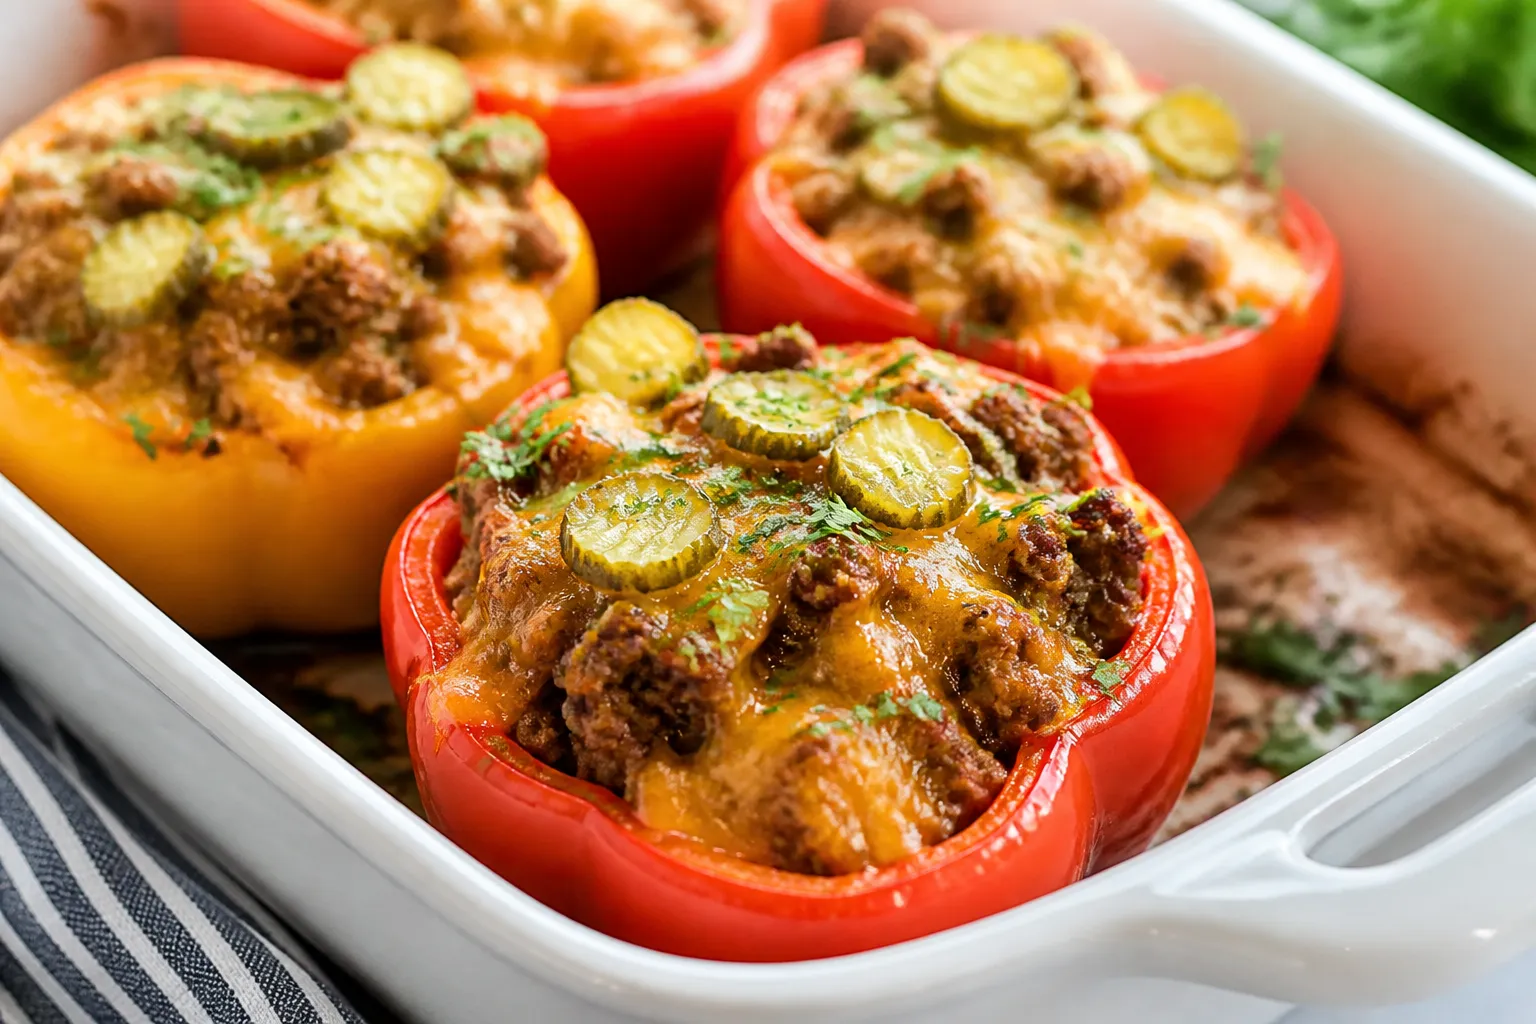
Ingredients
Method
- Prep the peppers: Heat the oven to 400°F (200°C). Slice the tops off the bell peppers and remove seeds and membranes. If they wobble, trim a thin slice off the bottoms to help them stand. Place in a baking dish, drizzle with a little olive oil, and sprinkle with salt.
- Pre-bake the peppers: Bake the empty peppers for 12–15 minutes, just until they start to soften. This helps them cook through without getting soggy later.
- Sauté the aromatics: While peppers bake, warm 1 tablespoon olive oil in a large skillet over medium heat. Add diced onion and a pinch of salt. Cook 3–4 minutes until translucent. Stir in garlic and cook 30 seconds until fragrant.
- Brown the beef: Add ground beef to the skillet. Break it up with a spoon and cook until no longer pink, about 6–8 minutes. Drain excess fat if needed to avoid greasy filling.
- Build the “cheeseburger” flavor: Stir in tomato paste, Worcestershire sauce, ketchup, mustard, smoked paprika (if using), and chopped pickles. Season with salt and pepper. Simmer 2–3 minutes until saucy and cohesive.
- Optional starch: Fold in 1 cup cooked rice or cauliflower rice. This adds body and stretches the filling, but it’s optional. Taste and adjust seasoning.
- Add cheese: Remove the skillet from heat and mix in 1 cup of the shredded cheese, reserving the remaining 1/2 cup for topping. The heat will melt it slightly and bind the filling.
- Stuff and bake: Spoon the beef mixture into the par-baked peppers, packing it in gently. Top each pepper with the remaining cheese. Return to the oven and bake 12–15 minutes, until cheese is melted and bubbly.
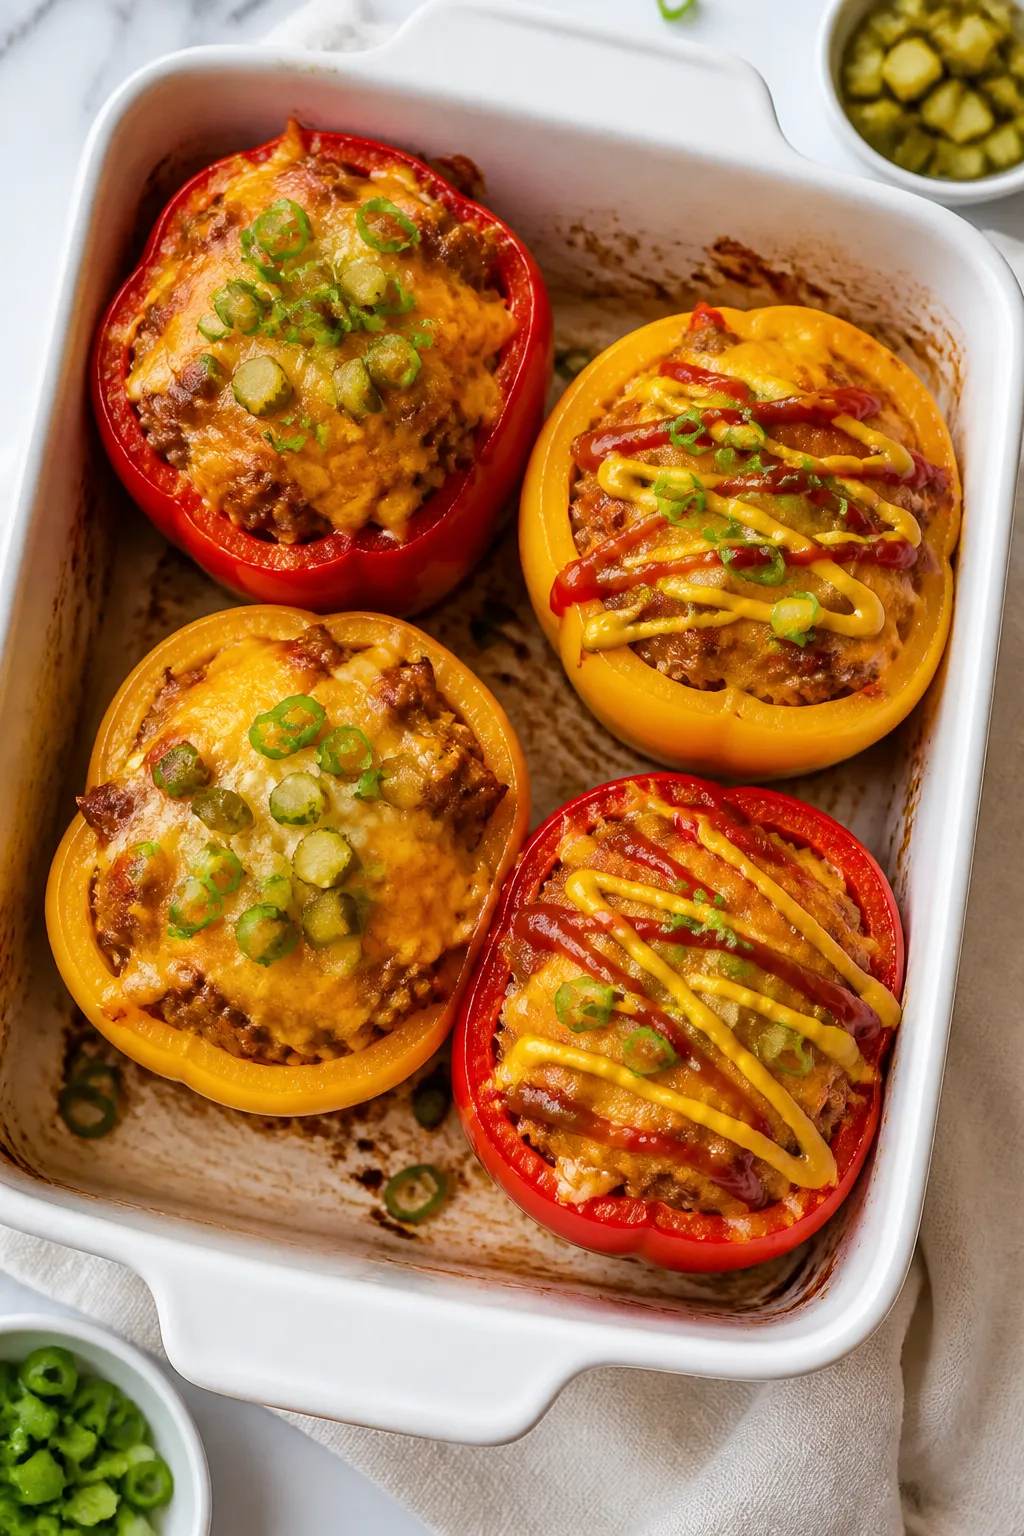
- Finish and serve: Let the peppers rest 5 minutes. Garnish with chopped green onions or chives. Add extra pickles or a drizzle of ketchup and mustard on top if you like that classic burger touch.
What Makes This Recipe So Good
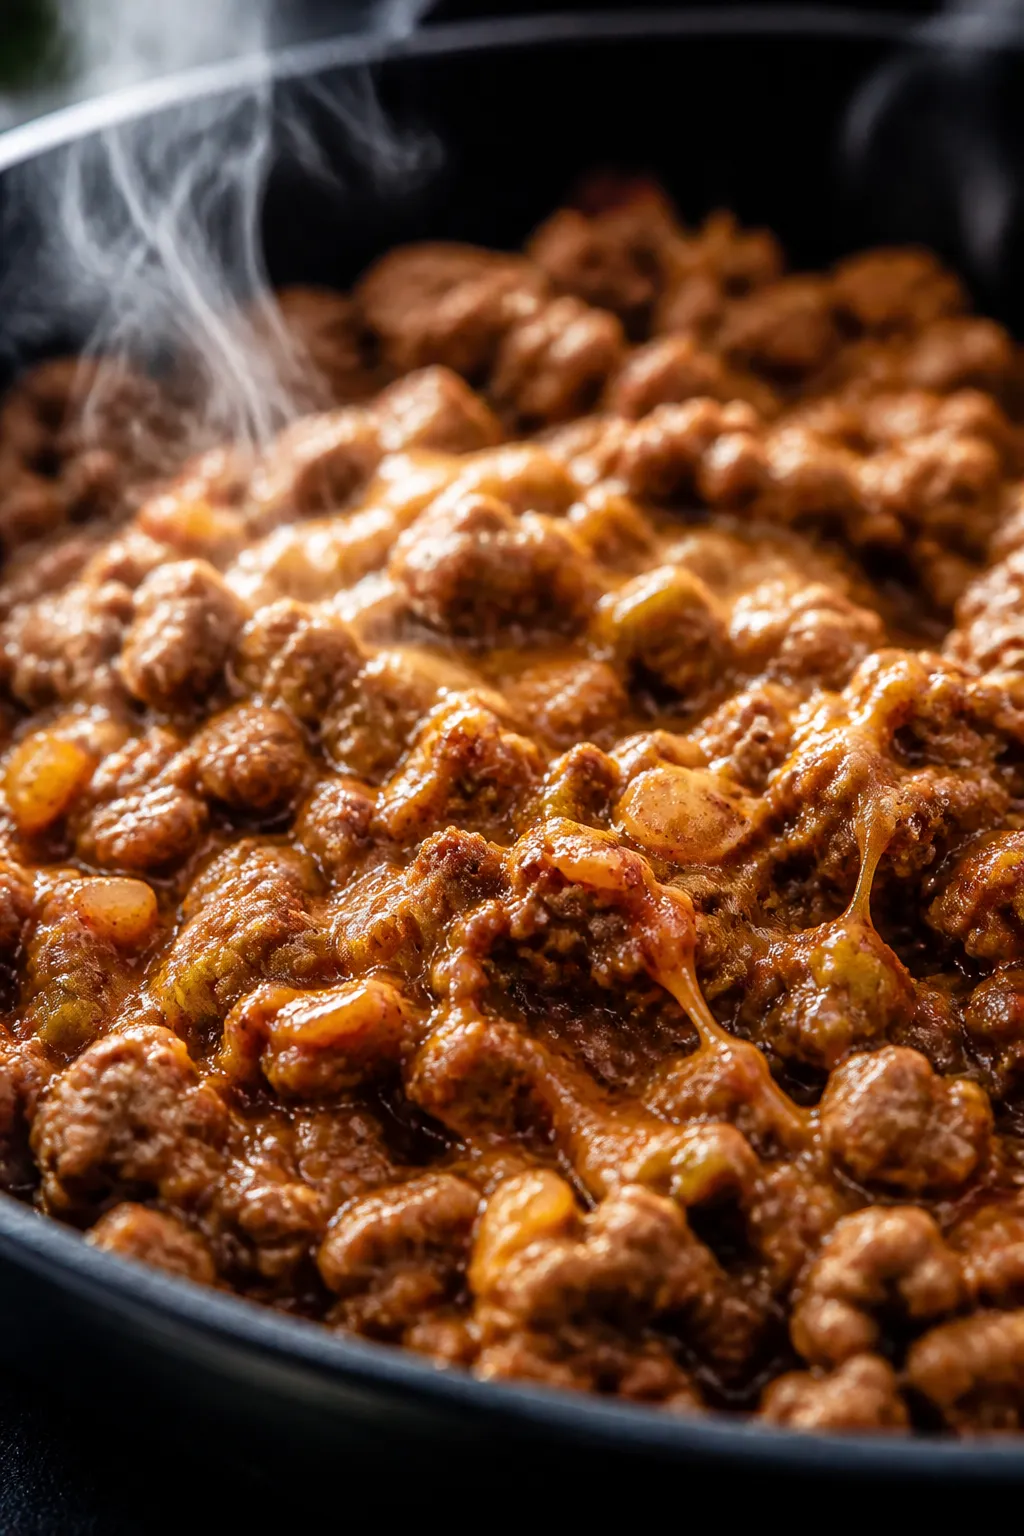
- All the burger flavor, less mess: The pepper acts like an edible bowl, keeping everything in place and adding a sweet, roasted note.
- Flexible and forgiving: You can use ground beef, turkey, or plant-based crumbles. Swap cheeses, tweak toppings, and it still works.
- Meal-prep friendly: These reheat well and taste great the next day, making lunch a no-brainer.
- Balanced bite: Protein-rich filling, plenty of veggies, and customizable carbs depending on your sides.
- Family favorite: Tastes like fast food but feels home-cooked and wholesome.
Shopping List
- Bell peppers: 4 large peppers (any color; red and yellow are sweetest)
- Ground beef: 1 pound (80/20 for flavor, or leaner if you prefer)
- Onion: 1 small, diced
- Garlic: 2 cloves, minced
- Tomato paste: 2 tablespoons
- Worcestershire sauce: 1 tablespoon
- Ketchup: 2 tablespoons
- Mustard: 1 tablespoon (yellow or Dijon)
- Pickles: 1/3 cup finely chopped (plus extra for topping)
- Cheese: 1 1/2 cups shredded cheddar or Colby Jack
- Cooked rice or cauliflower rice (optional): 1 cup, for extra bulk
- Salt and black pepper: To taste
- Smoked paprika: 1 teaspoon (optional, for a grilled flavor)
- Olive oil: 1 tablespoon
- Green onions or chives: For garnish
Instructions
- Prep the peppers: Heat the oven to 400°F (200°C).
Slice the tops off the bell peppers and remove seeds and membranes. If they wobble, trim a thin slice off the bottoms to help them stand. Place in a baking dish, drizzle with a little olive oil, and sprinkle with salt.
- Pre-bake the peppers: Bake the empty peppers for 12–15 minutes, just until they start to soften.
This helps them cook through without getting soggy later.
- Sauté the aromatics: While peppers bake, warm 1 tablespoon olive oil in a large skillet over medium heat. Add diced onion and a pinch of salt. Cook 3–4 minutes until translucent.
Stir in garlic and cook 30 seconds until fragrant.
- Brown the beef: Add ground beef to the skillet. Break it up with a spoon and cook until no longer pink, about 6–8 minutes. Drain excess fat if needed to avoid greasy filling.
- Build the “cheeseburger” flavor: Stir in tomato paste, Worcestershire sauce, ketchup, mustard, smoked paprika (if using), and chopped pickles.
Season with salt and pepper. Simmer 2–3 minutes until saucy and cohesive.
- Optional starch: Fold in 1 cup cooked rice or cauliflower rice. This adds body and stretches the filling, but it’s optional.
Taste and adjust seasoning.
- Add cheese: Remove the skillet from heat and mix in 1 cup of the shredded cheese, reserving the remaining 1/2 cup for topping. The heat will melt it slightly and bind the filling.
- Stuff and bake: Spoon the beef mixture into the par-baked peppers, packing it in gently. Top each pepper with the remaining cheese.
Return to the oven and bake 12–15 minutes, until cheese is melted and bubbly.
- Finish and serve: Let the peppers rest 5 minutes. Garnish with chopped green onions or chives. Add extra pickles or a drizzle of ketchup and mustard on top if you like that classic burger touch.
Keeping It Fresh
- Storage: Cool completely, then store in an airtight container in the fridge for up to 4 days.
Keep any sauces on the side to avoid sogginess.
- Reheating: Microwave in 60–90 second bursts until hot, or reheat in a 350°F (175°C) oven for 12–15 minutes. If using a microwave, cover loosely so the cheese doesn’t dry out.
- Freezing: Freeze fully cooked, cooled peppers individually wrapped, then bagged. Thaw overnight in the fridge and reheat in the oven.
Expect a slightly softer texture, but flavor stays great.
- Make-ahead tips: Prepare the beef filling up to 2 days in advance. Stuff and bake when ready to eat for the best texture.
Health Benefits
- Protein-packed: The beef provides high-quality protein, which supports muscle repair and keeps you full longer.
- Veggie-forward: Bell peppers are rich in vitamin C, vitamin A, and antioxidants. They add volume and nutrients without heavy calories.
- Customizable fats: Use lean beef or switch to ground turkey to reduce saturated fat.
You can also control the cheese amount to fit your goals.
- Balanced meal: Add a side salad or roasted potatoes, and you’ve got a satisfying, well-rounded plate.
Pitfalls to Watch Out For
- Undercooked peppers: If you skip the pre-bake, the peppers may stay too firm. Give them that first bake to soften.
- Watery filling: Overly wet peppers can happen if you don’t drain excess fat from the beef or if you add too much ketchup. Keep the mixture saucy, not soupy.
- Bland seasoning: Peppers and rice can mute flavors.
Taste the filling and add more salt, pepper, mustard, or Worcestershire as needed.
- Cheese burn: If topping browns too quickly, tent the dish loosely with foil during the final minutes of baking.
Alternatives
- Protein swaps: Ground turkey, chicken, bison, or plant-based crumbles all work. Adjust cooking time and seasoning—poultry and plant-based options may need extra salt and spices.
- Cheese choices: American for classic melt, pepper jack for heat, Swiss for a richer note, or a cheddar–mozzarella mix for gooey pull.
- Low-carb route: Skip the rice and use cauliflower rice, or omit the starch entirely. The filling is hearty enough on its own.
- Add-ins: Diced tomatoes, chopped bacon, sautéed mushrooms, or a splash of pickle juice for extra tang.
Stir in hot sauce for a spicy kick.
- Topping ideas: Shredded lettuce, diced tomatoes, sliced red onion, or a quick “burger sauce” (ketchup, mayo, mustard, and a little pickle brine).
FAQ
Never wonder what's for dinner again.
Get 7 healthy, family-friendly dinners complete with recipes, grocery lists, and simple meal plans delivered straight to your inbox.
Can I make these peppers ahead of time?
Yes. Cook the filling and store it in the fridge for up to 2 days. Stuff and bake right before serving for the best texture, or bake fully and reheat when needed.
Do I have to pre-bake the peppers?
It’s strongly recommended.
Pre-baking softens them and shortens the final cook time, so you avoid undercooked peppers or overcooked filling.
What color bell pepper is best?
Red, yellow, and orange peppers are sweeter and pair well with the cheeseburger flavors. Green peppers are a bit more bitter but still tasty if that’s your preference.
Can I use leftover rice?
Absolutely. Cold, leftover rice works great and helps absorb flavors.
Just fold it into the beef mixture and warm it through before stuffing.
How do I keep the filling from falling out?
Pack the filling snugly and avoid overfilling. Trimming a thin slice off the bottom of each pepper helps them stand upright during baking.
Is there a dairy-free option?
Yes. Use dairy-free shredded cheese or skip the cheese entirely and add extra seasonings or a drizzle of dairy-free burger sauce after baking.
Can I grill the peppers instead of baking?
You can.
Par-cook the peppers in the oven first, then finish them on the grill over medium heat with the lid closed until the cheese melts and the peppers are tender.
Final Thoughts
Cheeseburger stuffed bell peppers deliver comfort and freshness in one bite. They’re easy to customize, simple to prep ahead, and they satisfy that classic burger craving without the bun. Whether you keep it straightforward or load them with extra toppings, this recipe is a reliable weeknight winner.
Serve with a crisp salad, sweet potato fries, or roasted corn, and you’ve got a meal that feels special without a lot of fuss. Enjoy the melty cheese, the savory filling, and that sweet pepper crunch—every time.
Printable Recipe Card
Want just the essential recipe details without scrolling through the article? Get our printable recipe card with just the ingredients and instructions.
Loved This Recipe?
If you're looking for more simple, healthy dinners your family will actually eat, grab my FREE 7-Day Easy Dinner Reset. You'll get 7 easy dinner recipes, simple grocery lists, and a done-for-you plan that takes the stress out of mealtime.