Sticky Honey Garlic Chicken Meal Prep – Easy, Flavor-Packed Lunches
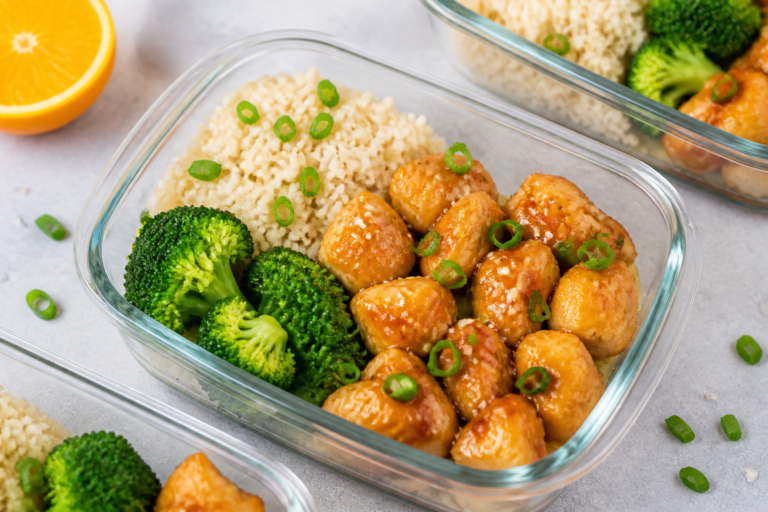
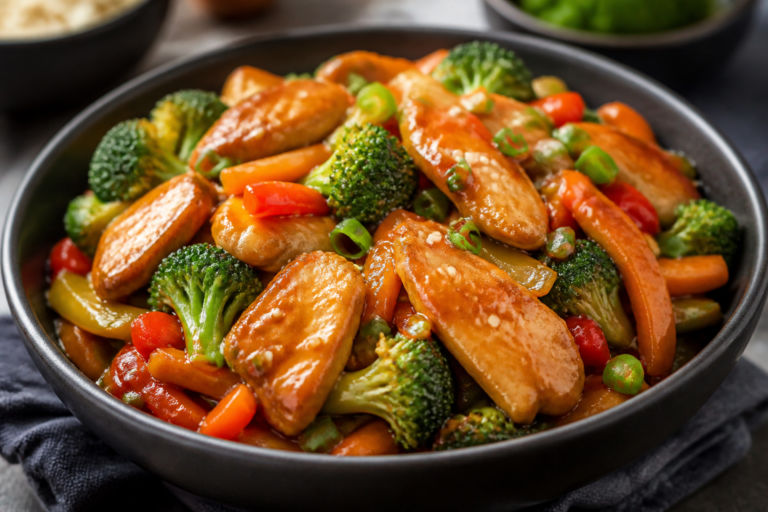
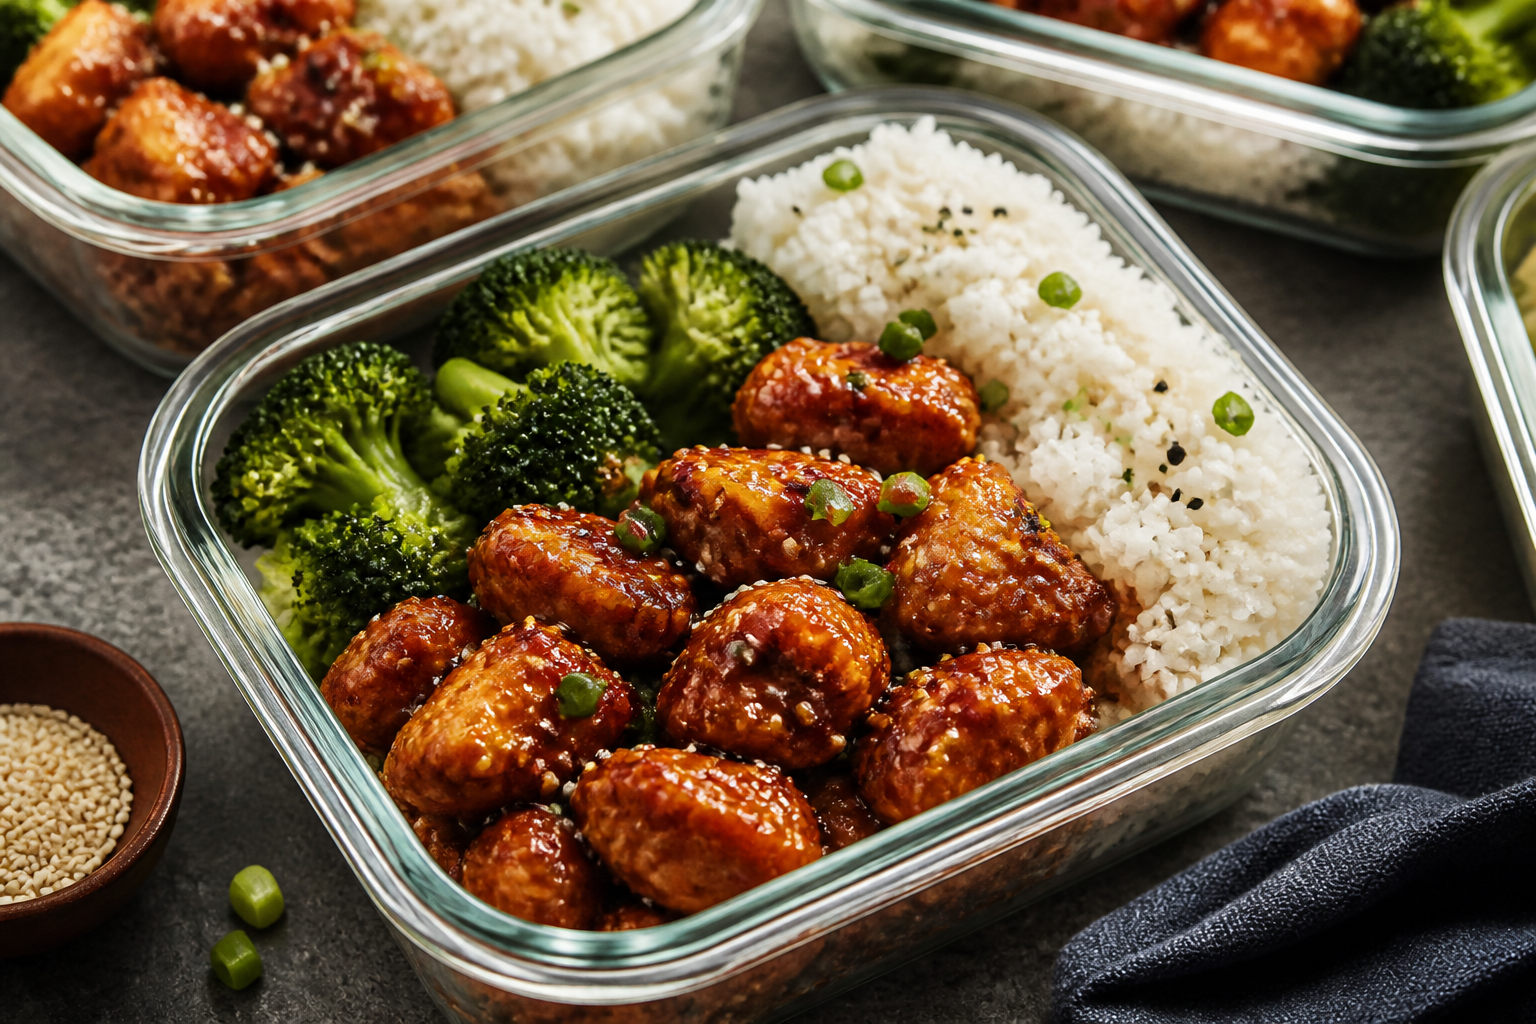
Meal prepping should be simple, satisfying, and something you’re actually excited to eat. That’s where this Sticky Honey Garlic Chicken comes in. It’s sweet, savory, garlicky, and perfectly glossy—everything you want in a week of ready-to-go meals.
Need More Easy Dinner Ideas?
Get my FREE 7-Day Easy Dinner Reset and enjoy a full week of healthy dinners without the meal-planning stress.
The sauce clings to tender chicken and pairs well with rice, veggies, or noodles. If you’re bored of bland meal prep, this one brings restaurant-style flavor with everyday ingredients.
Ingredients
Method
- Cook your base. Make 3 cups of cooked rice according to package directions. Steam or sauté your chosen veggies until crisp-tender. Set aside.
- Prep the chicken. Pat chicken dry and cut into 1-inch pieces. Season lightly with salt and pepper. Toss with 1 tablespoon cornstarch to help it brown and stay tender.
- Mix the sauce. In a bowl, whisk together honey, soy sauce, minced garlic, vinegar, sesame oil, and ginger. In a separate cup, stir 1 tablespoon cornstarch into 1/2 cup water or broth until smooth. Set both aside.
- Sear the chicken. Heat 1 tablespoon oil in a large skillet over medium-high. Add half the chicken in a single layer. Cook 3–4 minutes per side until golden and mostly cooked through. Transfer to a plate and repeat with remaining oil and chicken.
- Build the glaze. Reduce heat to medium. Pour the honey-garlic sauce into the pan and bring to a gentle simmer. Stir in the cornstarch mixture. Cook, stirring, 1–2 minutes until thick and glossy.
- Coat the chicken. Return chicken and any juices to the pan. Toss to coat evenly. Simmer another 1–2 minutes until the chicken is cooked through and the sauce clings. Taste and adjust with a splash of vinegar for brightness or a pinch of red pepper flakes for heat.
- Assemble meal prep bowls. Divide rice and veggies among 4–5 containers. Top with sticky chicken and spoon over extra sauce. Garnish with sesame seeds and green onions.
- Cool before sealing. Let containers cool uncovered for 15–20 minutes so condensation doesn’t make everything soggy. Then seal and refrigerate.
Why This Recipe Works
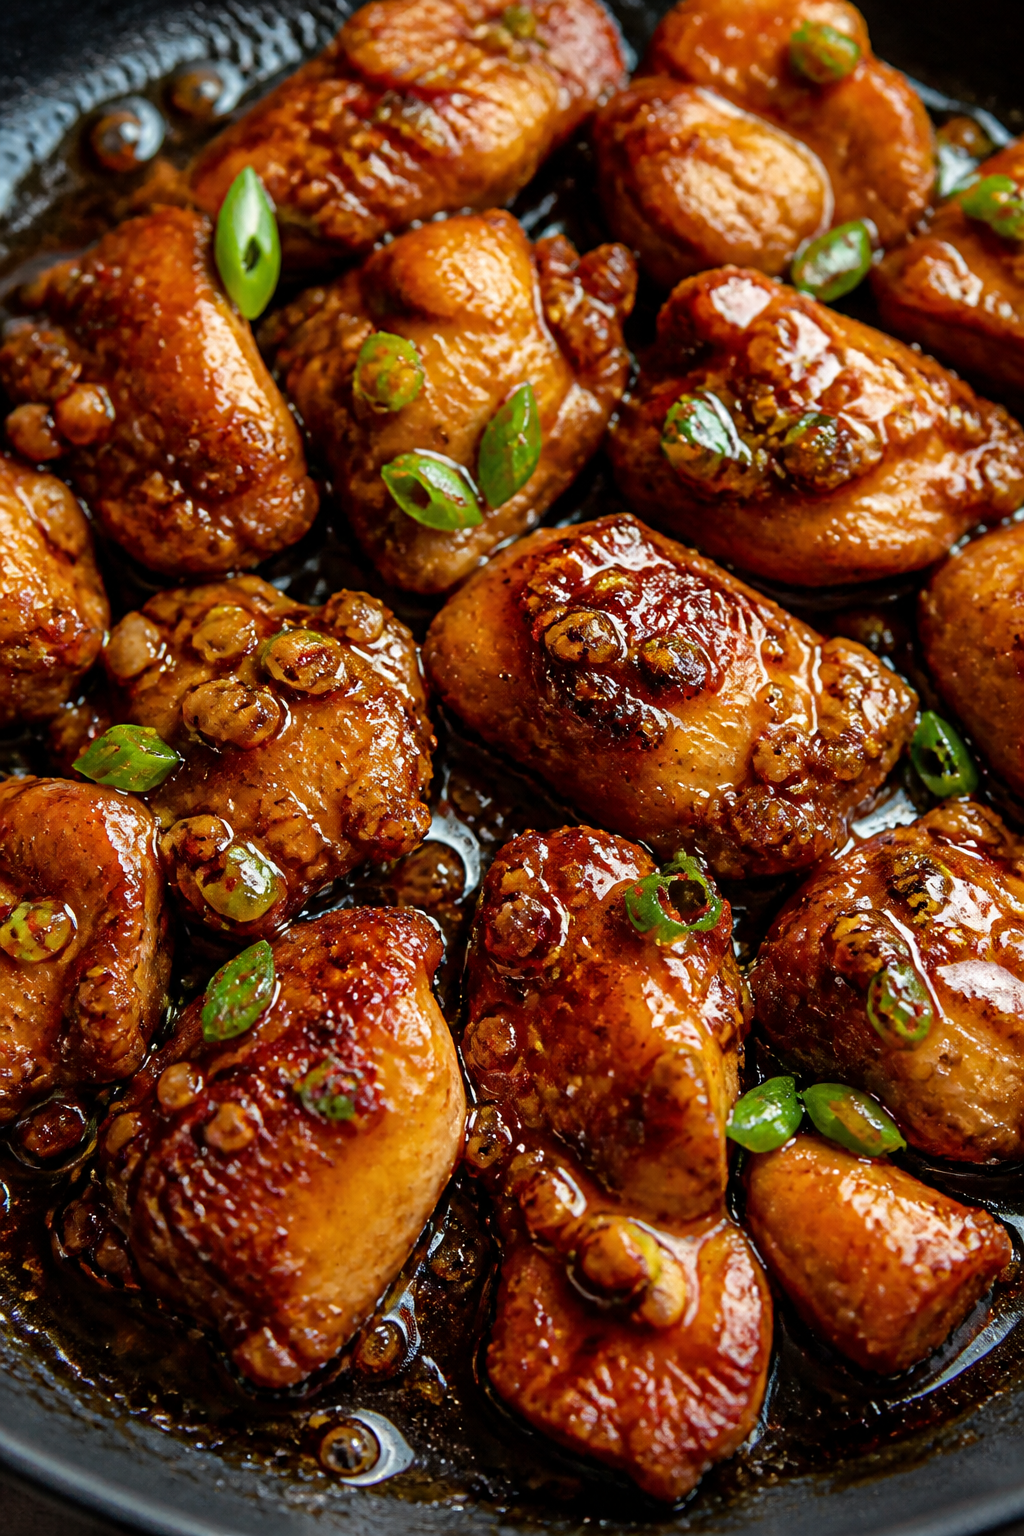
This meal prep hits the sweet spot between bold flavor and easy prep. The sauce uses pantry staples—honey, soy sauce, garlic, and a touch of vinegar—for a balanced sweet-and-salty glaze.
A quick cornstarch slurry and a hot pan create that sticky finish without deep frying. The chicken is cut into bite-sized pieces so it cooks fast and stays juicy. And best of all, the flavors hold up beautifully in the fridge for several days.
Shopping List
- Chicken: 2 pounds boneless, skinless chicken thighs (or breasts if preferred)
- Honey: 1/3 cup
- Soy sauce: 1/3 cup (use low-sodium if possible)
- Garlic: 5–6 cloves, minced
- Rice vinegar or apple cider vinegar: 1 tablespoon
- Sesame oil: 1 teaspoon (optional but recommended)
- Fresh ginger: 1 teaspoon, grated (optional for extra warmth)
- Cornstarch: 2 tablespoons (divided)
- Water or chicken broth: 1/2 cup
- Neutral oil: 2 tablespoons (avocado, canola, or light olive oil)
- Sesame seeds: 1 tablespoon, for garnish
- Green onions: 2–3, thinly sliced
- Rice: 3 cups cooked (jasmine, basmati, or brown rice)
- Veggies: Steamed broccoli, snap peas, bell peppers, or carrots
- Red pepper flakes or sriracha: For heat (optional)
- Salt and black pepper: To taste
Instructions
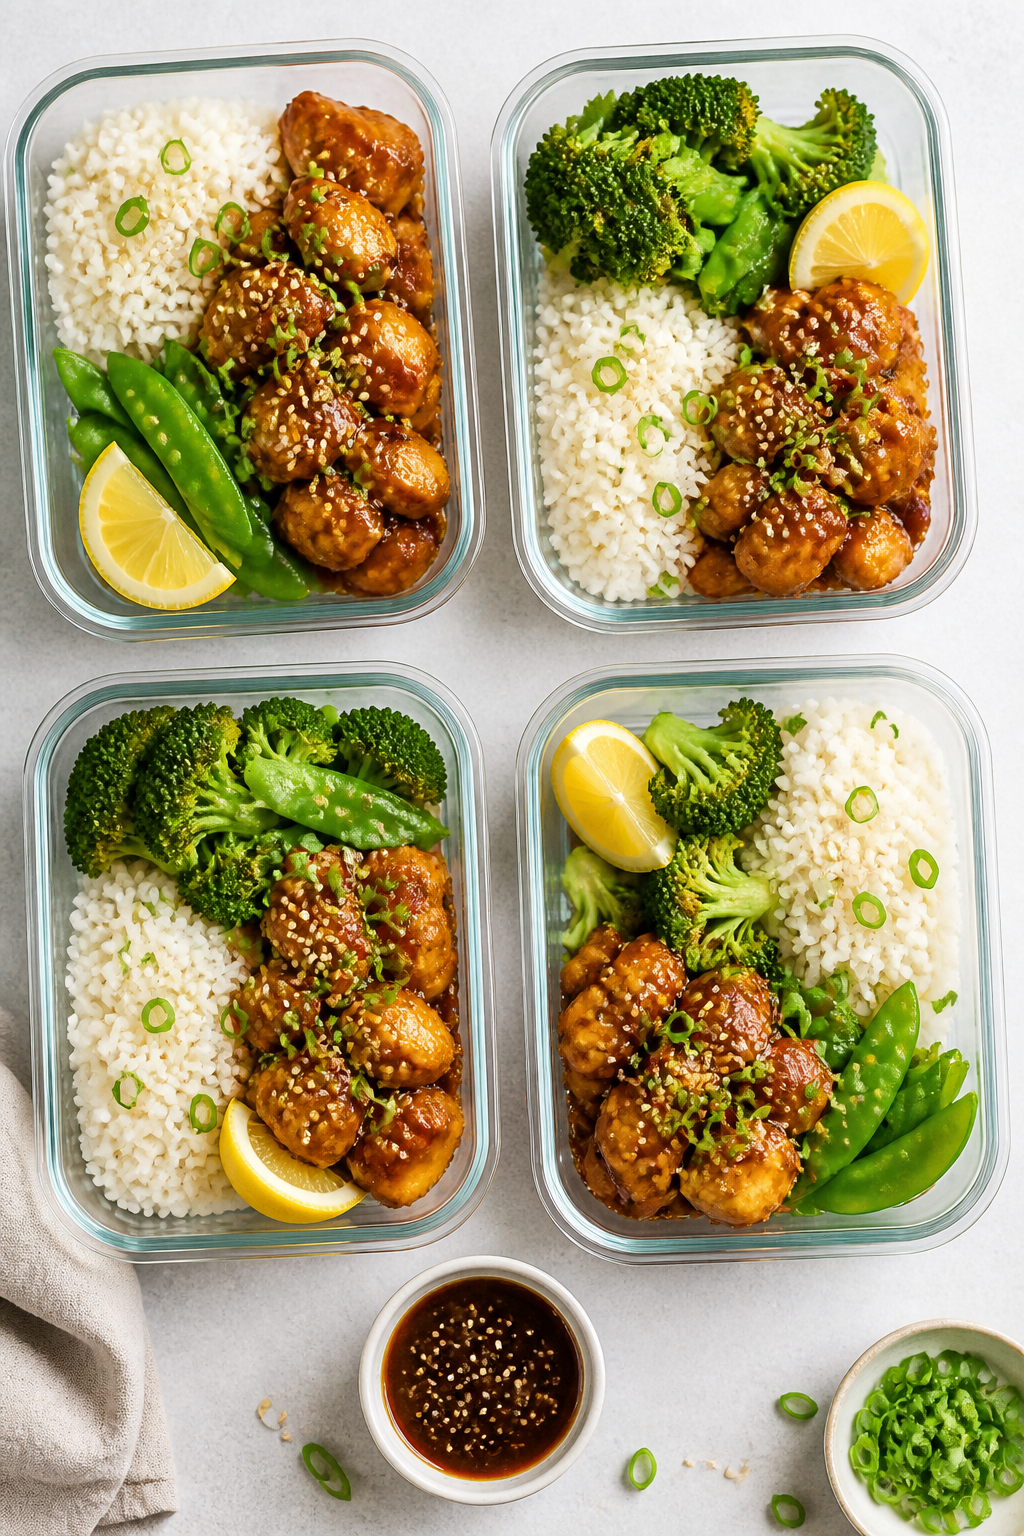
- Cook your base. Make 3 cups of cooked rice according to package directions.
Steam or sauté your chosen veggies until crisp-tender. Set aside.
- Prep the chicken. Pat chicken dry and cut into 1-inch pieces. Season lightly with salt and pepper.
Toss with 1 tablespoon cornstarch to help it brown and stay tender.
- Mix the sauce. In a bowl, whisk together honey, soy sauce, minced garlic, vinegar, sesame oil, and ginger. In a separate cup, stir 1 tablespoon cornstarch into 1/2 cup water or broth until smooth. Set both aside.
- Sear the chicken. Heat 1 tablespoon oil in a large skillet over medium-high.
Add half the chicken in a single layer. Cook 3–4 minutes per side until golden and mostly cooked through. Transfer to a plate and repeat with remaining oil and chicken.
- Build the glaze. Reduce heat to medium.
Pour the honey-garlic sauce into the pan and bring to a gentle simmer. Stir in the cornstarch mixture. Cook, stirring, 1–2 minutes until thick and glossy.
- Coat the chicken. Return chicken and any juices to the pan.
Toss to coat evenly. Simmer another 1–2 minutes until the chicken is cooked through and the sauce clings. Taste and adjust with a splash of vinegar for brightness or a pinch of red pepper flakes for heat.
- Assemble meal prep bowls. Divide rice and veggies among 4–5 containers.
Top with sticky chicken and spoon over extra sauce. Garnish with sesame seeds and green onions.
- Cool before sealing. Let containers cool uncovered for 15–20 minutes so condensation doesn’t make everything soggy. Then seal and refrigerate.
Storage Instructions
- Refrigerator: Stores well for 4 days in airtight containers.
- Freezer: Freeze for up to 2 months.
For best texture, freeze rice and chicken separately if possible. Thaw overnight in the fridge.
- Reheating: Microwave 1–3 minutes, stirring halfway, until hot. Add a splash of water if the sauce seems too thick.
- Safety tip: Reheat to an internal temperature of 165°F (74°C).
Health Benefits
This recipe balances protein, complex carbs, and fiber for steady energy.
Chicken provides lean protein for muscle repair and satiety. Pairing with brown rice or quinoa and vegetables adds fiber, vitamins, and minerals. The sauce is naturally sweetened with honey, so you control the sugar content—use less if needed.
Low-sodium soy sauce helps manage salt intake without sacrificing flavor, and garlic and ginger bring antioxidant and anti-inflammatory perks.
What Not to Do
- Don’t crowd the pan. Overcrowding steams the chicken and prevents browning, which reduces flavor.
- Don’t skip the cornstarch coating. It helps the chicken stay juicy and gives the sauce something to cling to.
- Don’t crank the heat too high with honey. The sugars can burn. Keep it at a gentle simmer once the sauce is in.
- Don’t pack containers while steaming hot. Trapped steam turns rice gummy and dulls the glaze.
- Don’t forget balance. If it tastes too sweet, add a splash more vinegar or a squeeze of lemon to brighten it up.
Recipe Variations
- Air fryer chicken: Toss chicken with oil, salt, pepper, and cornstarch. Air fry at 400°F (205°C) for 10–12 minutes, shaking halfway.
Toss cooked chicken in a stovetop-reduced sauce.
- Sheet pan version: Spread cornstarch-coated chicken on a lined sheet pan. Roast at 425°F (220°C) for 14–16 minutes. Simmer sauce separately and combine.
- Gluten-free: Use tamari or coconut aminos instead of soy sauce.
Confirm your vinegar and cornstarch are gluten-free.
- Lower sugar: Reduce honey to 3–4 tablespoons and add a bit more garlic and ginger for extra punch.
- Extra protein and crunch: Add toasted cashews or peanuts just before serving.
- Veggie-forward: Swap half the chicken with mushrooms, cauliflower florets, or firm tofu. Press tofu well and pan-sear for best texture.
- Spicy kick: Add sriracha, gochujang, or chili crisp to the sauce to taste.
- Different bases: Serve over quinoa, cauliflower rice, stir-fried noodles, or a bed of shredded cabbage for a lighter bowl.
Never wonder what's for dinner again.
Get 7 healthy, family-friendly dinners complete with recipes, grocery lists, and simple meal plans delivered straight to your inbox.
FAQ
Can I use chicken breasts instead of thighs?
Yes. Breasts cook a bit faster and can dry out, so don’t overcook.
Cut into even pieces, sear quickly, and let them finish in the sauce.
How do I keep the sauce glossy when reheating?
Add a small splash of water before microwaving and stir halfway. The cornstarch will loosen slightly and return to a shiny glaze as it heats.
Is there a way to make it less sweet?
Use 2–3 tablespoons of honey and add more garlic, ginger, and a touch of vinegar. A pinch of salt can also balance sweetness without more soy sauce.
What vegetables go best with this?
Broccoli, snap peas, bell peppers, carrots, and green beans all work well.
Aim for crisp-tender so they reheat without getting mushy.
Can I double the sauce?
Absolutely. If you love extra glaze on your rice and veggies, double the sauce ingredients and reduce to your preferred thickness.
What if I don’t have cornstarch?
Use arrowroot starch or potato starch in the same amount. If using flour, simmer longer to thicken and expect a slightly less glossy finish.
How long does it last in the fridge?
Up to 4 days when stored properly in airtight containers.
If it smells off or looks slimy, discard it.
Can I make it in advance for a party?
Yes. Cook the chicken and sauce, then hold them separately. Reheat the sauce gently and toss with warmed chicken right before serving.
Final Thoughts
Sticky Honey Garlic Chicken Meal Prep gives you fast, reliable lunches without sacrificing flavor.
It’s flexible, budget-friendly, and easy to tailor to your taste and dietary needs. Keep the technique simple—good sear, balanced sauce, proper cooling—and you’ll have glossy, tender chicken all week long. Once you try it, this will likely join your regular meal prep rotation.
Printable Recipe Card
Want just the essential recipe details without scrolling through the article? Get our printable recipe card with just the ingredients and instructions.
Loved This Recipe?
If you're looking for more simple, healthy dinners your family will actually eat, grab my FREE 7-Day Easy Dinner Reset. You'll get 7 easy dinner recipes, simple grocery lists, and a done-for-you plan that takes the stress out of mealtime.